How to Attach a Drive-Away Awning to a Camper Van
If you've ever wondered how to securely and safely attach a drive-away awning to your campervan without risking damage to either, you're in the right place. We'll guide you through this straightforward process, ensuring you get it right the first time.
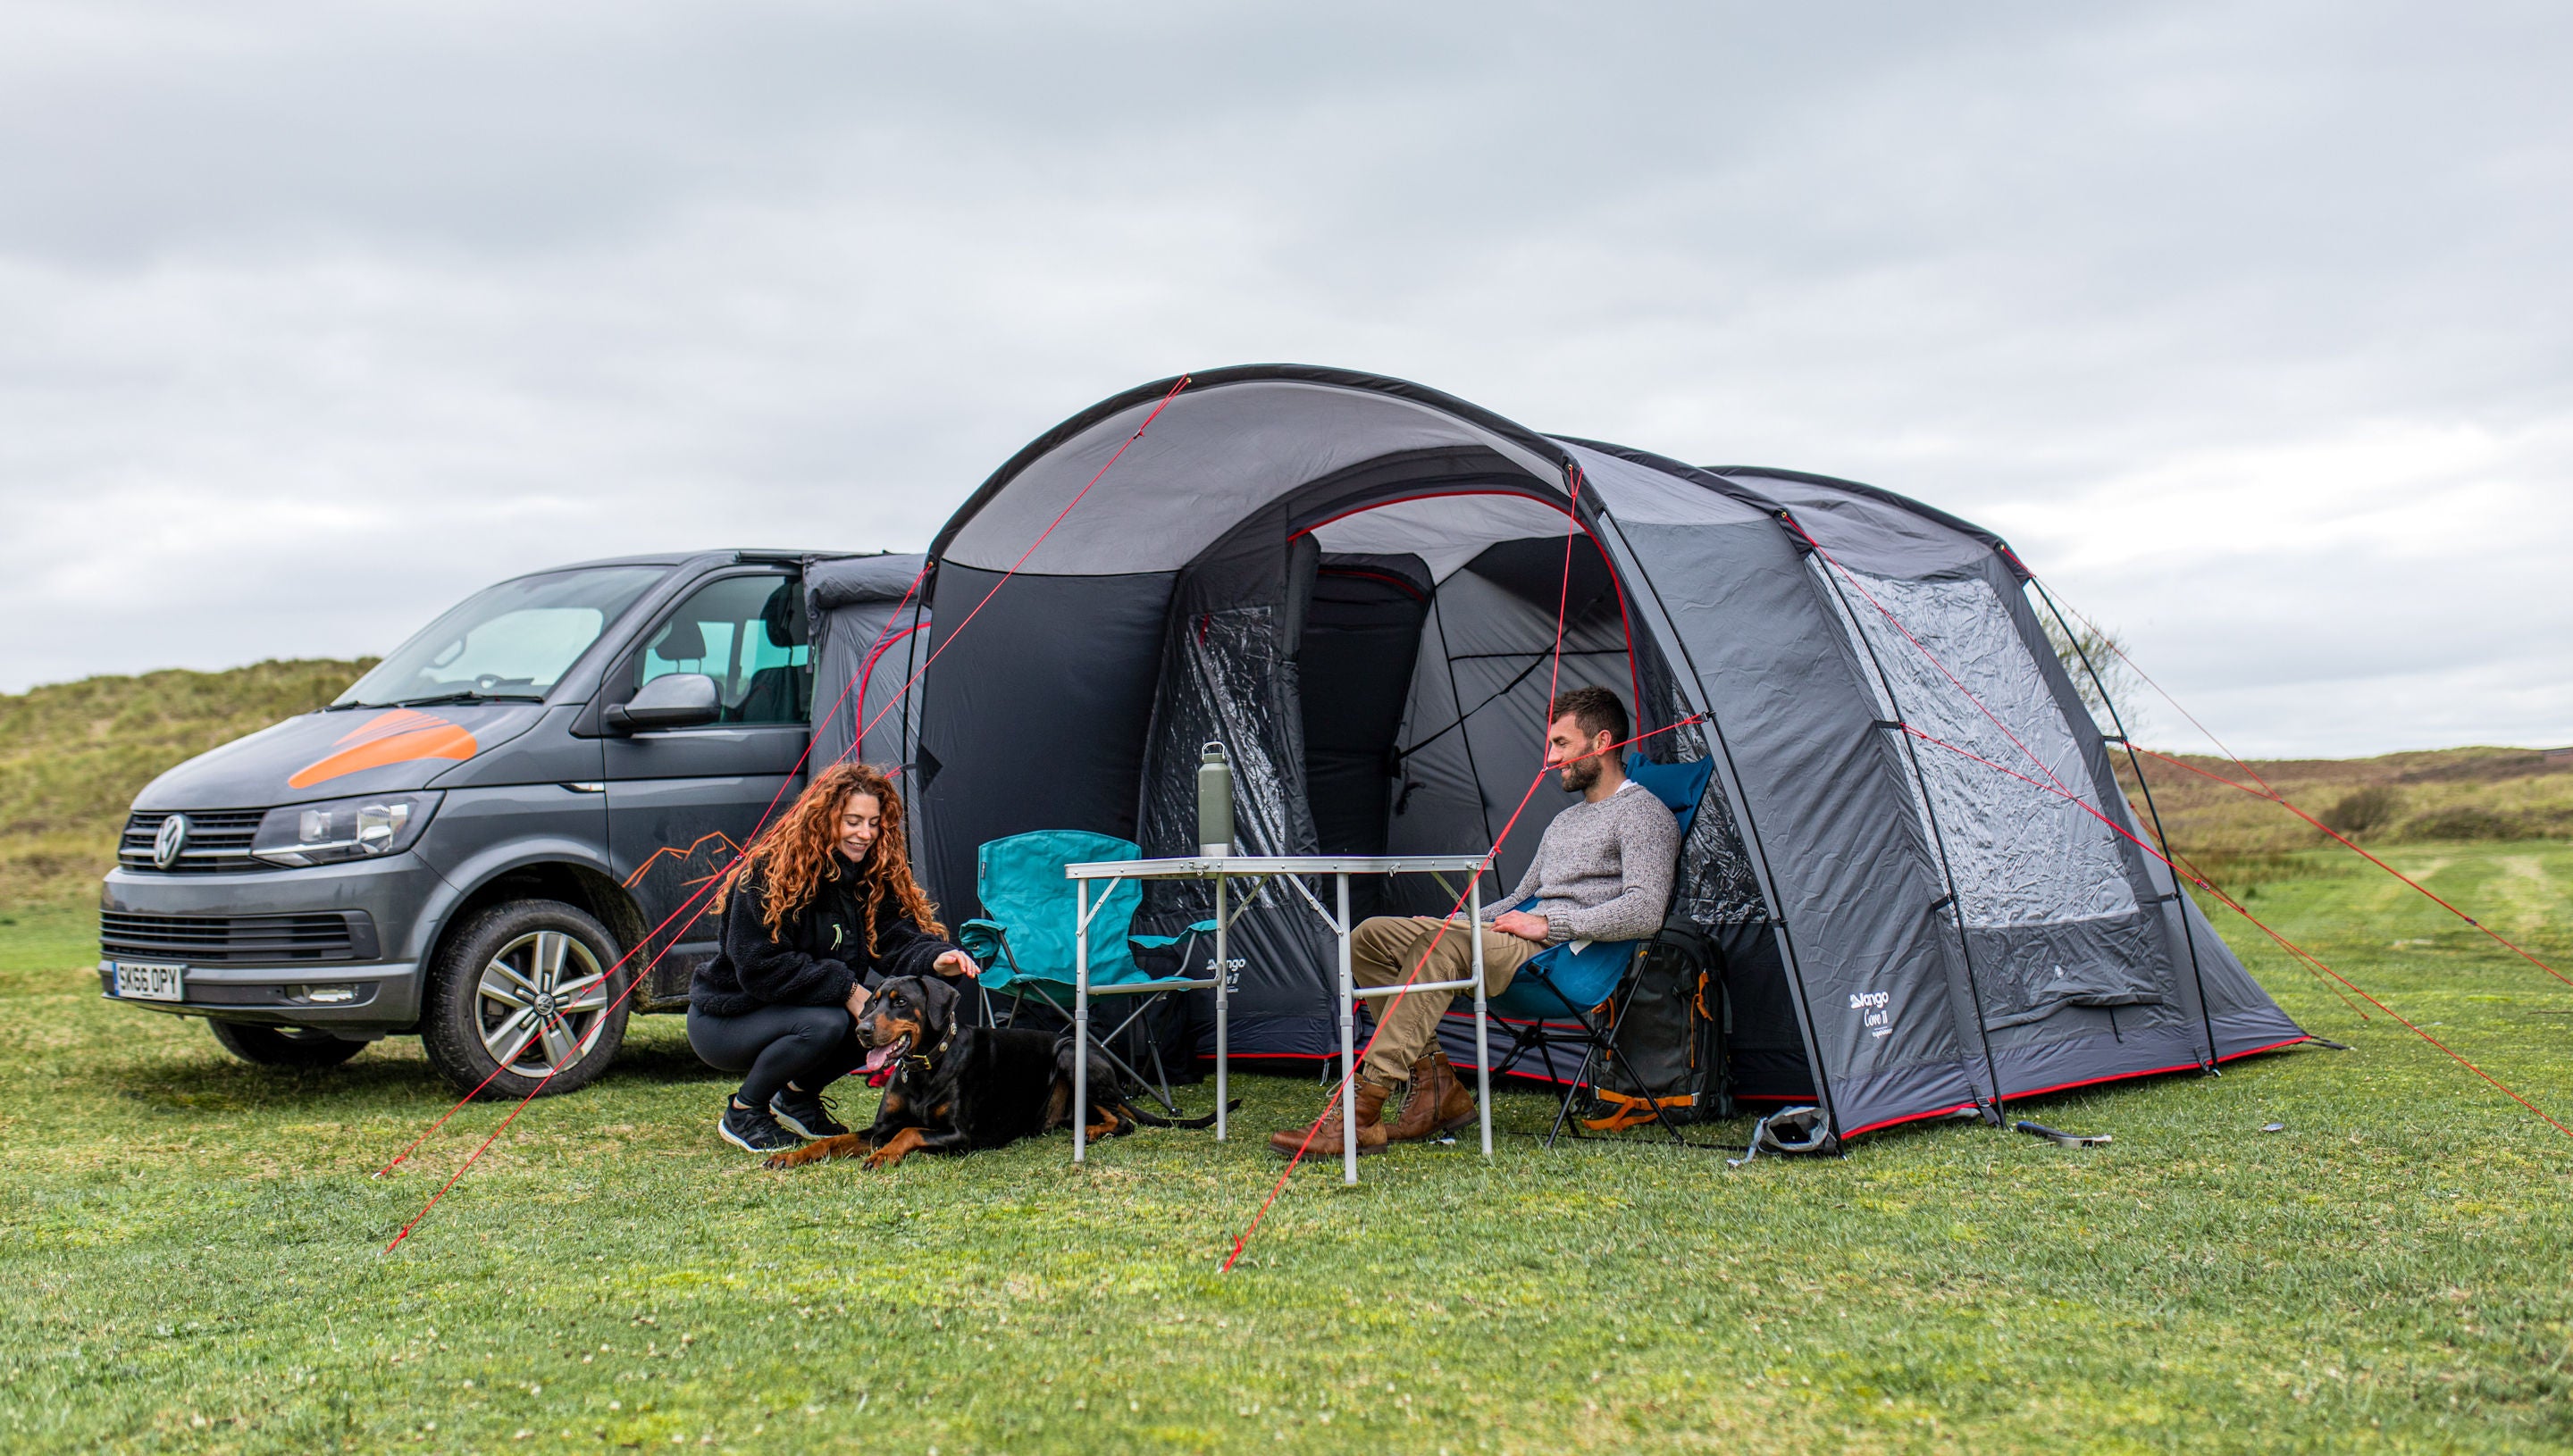
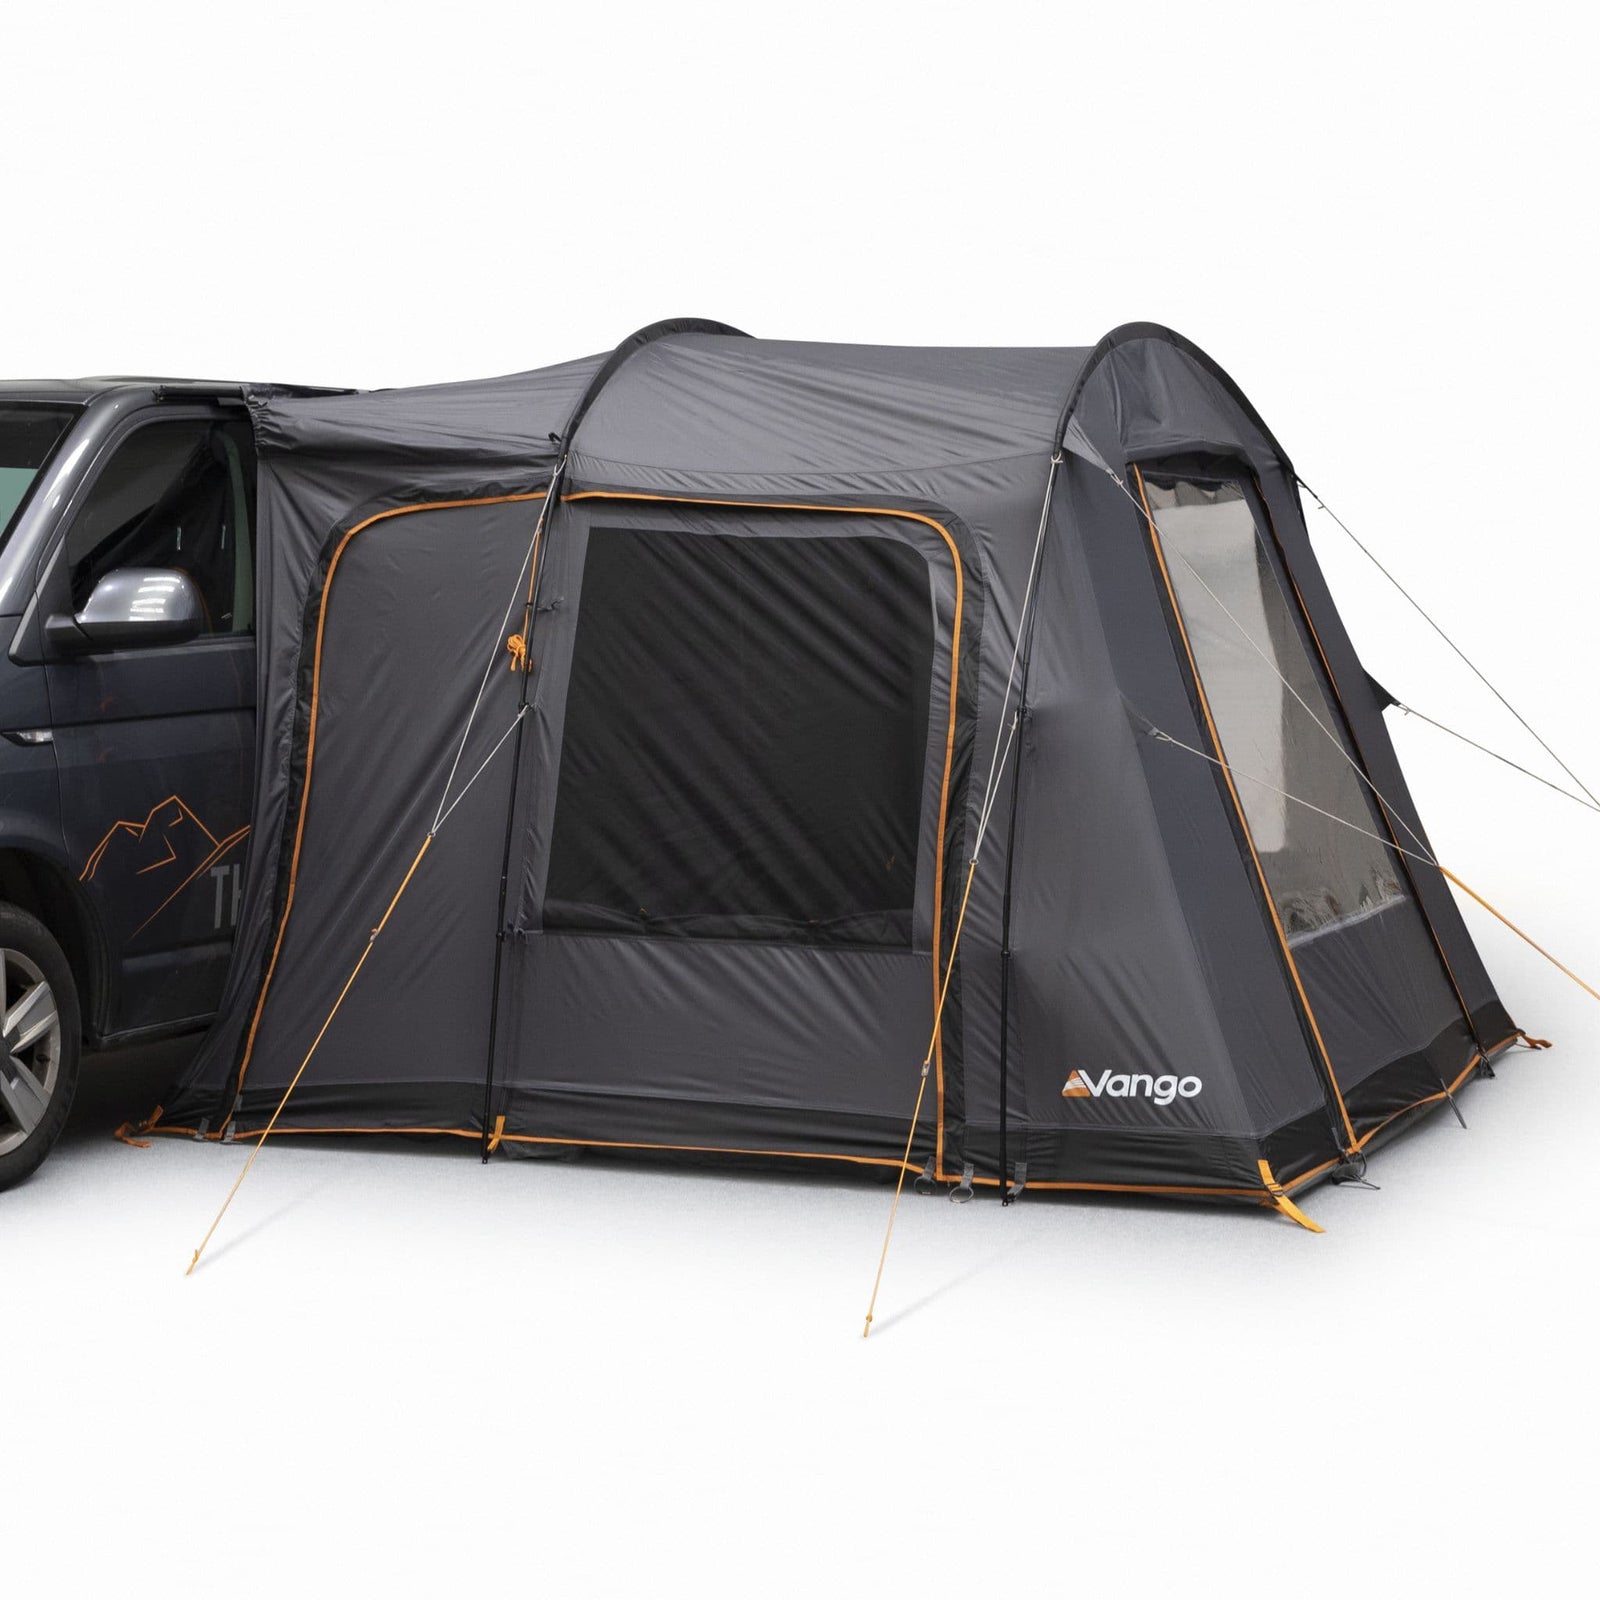
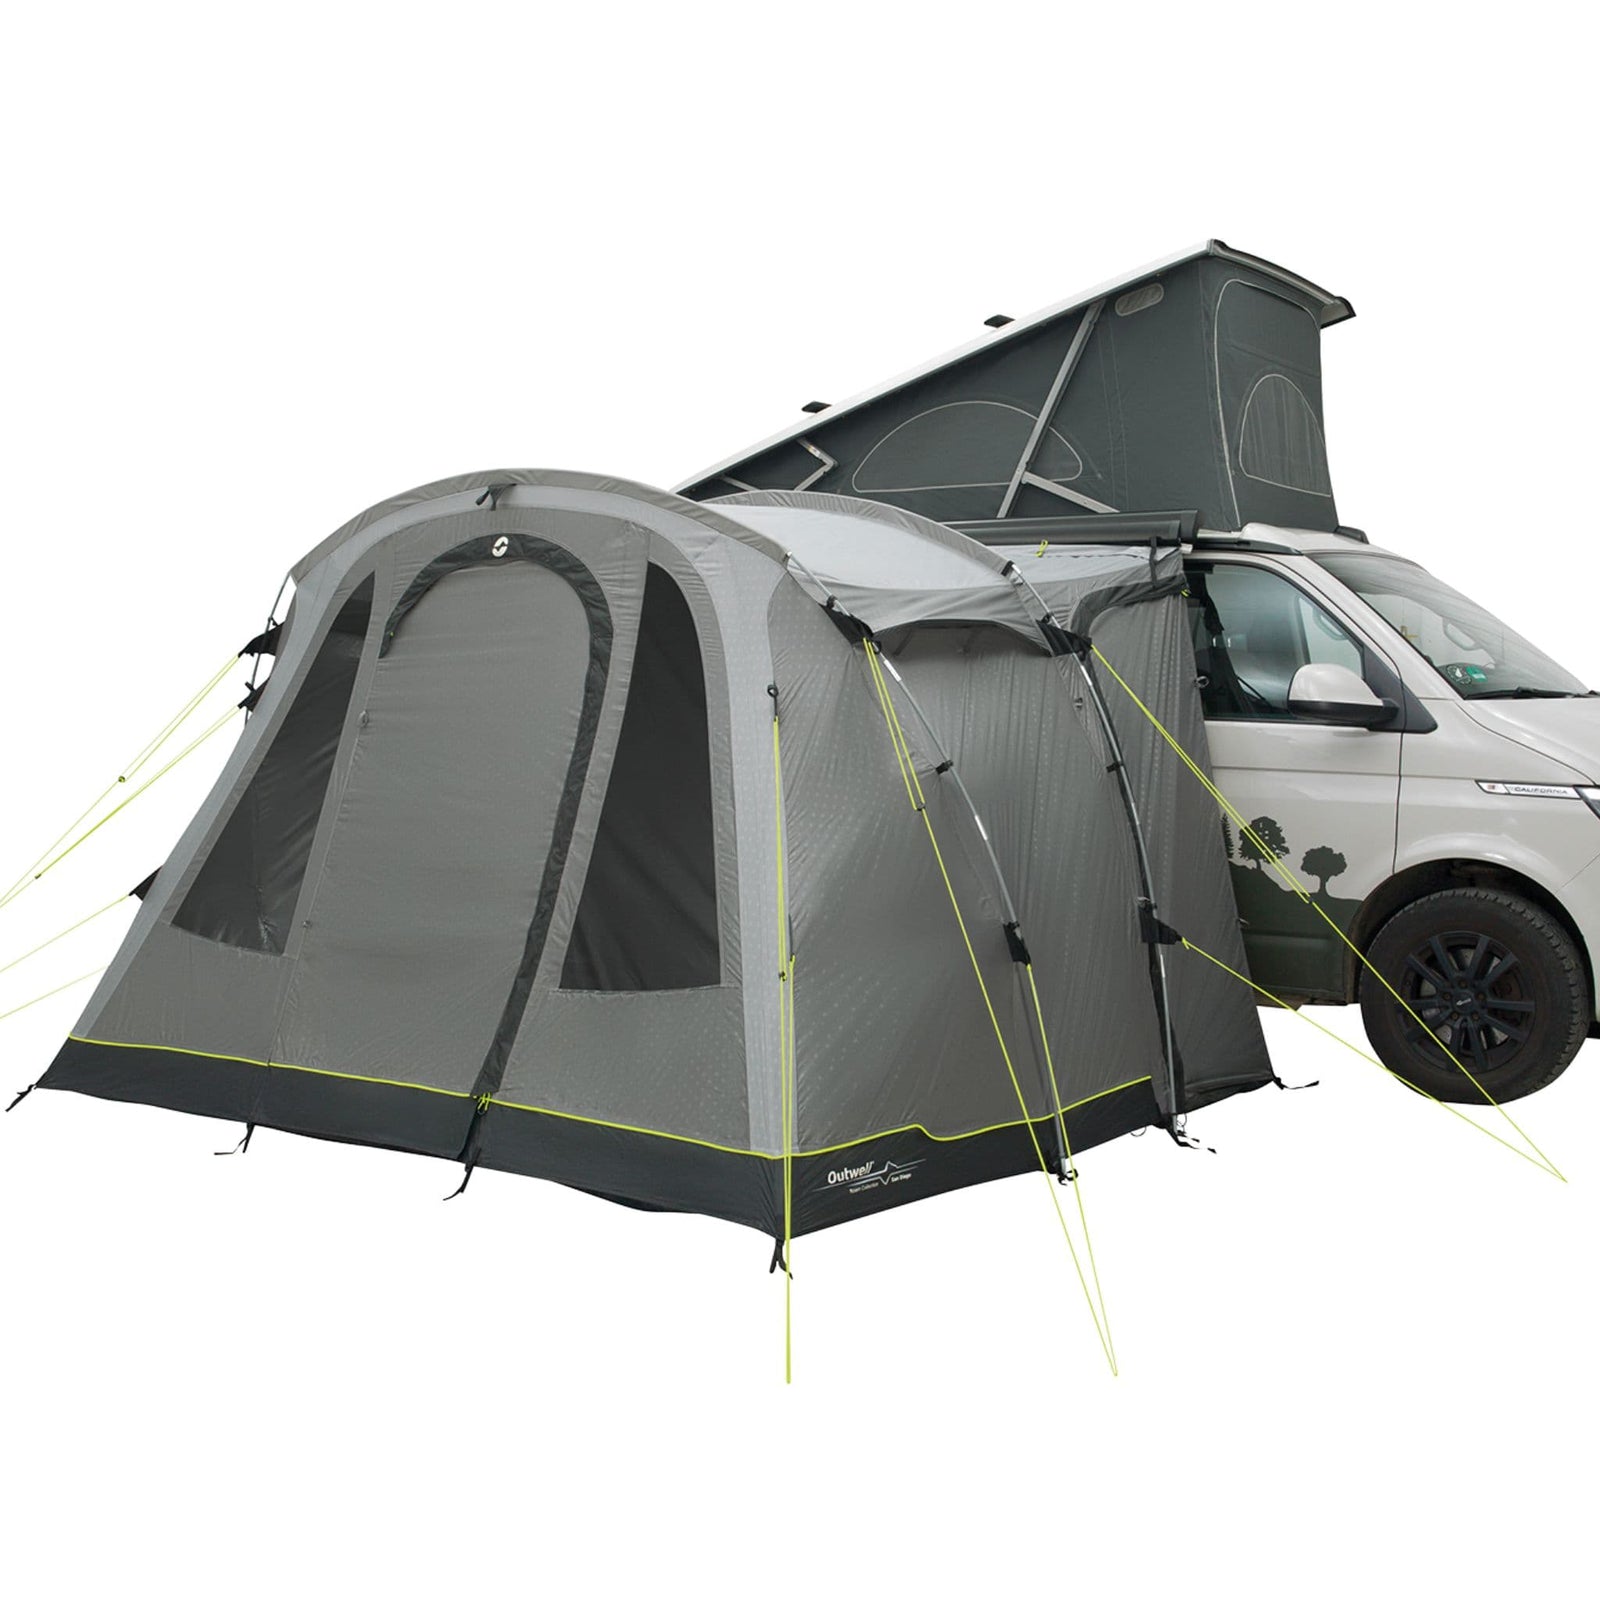
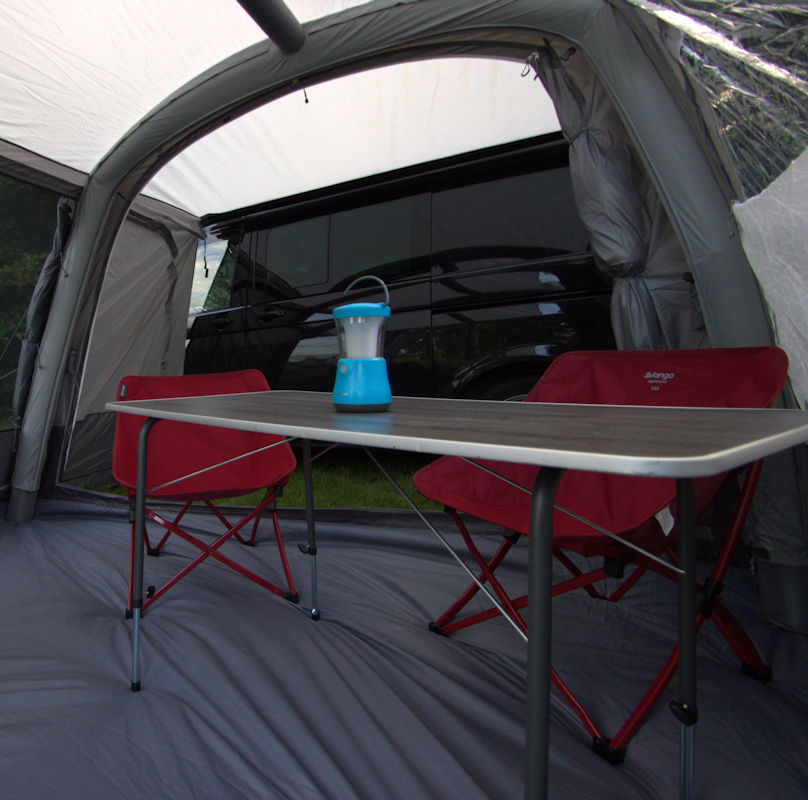
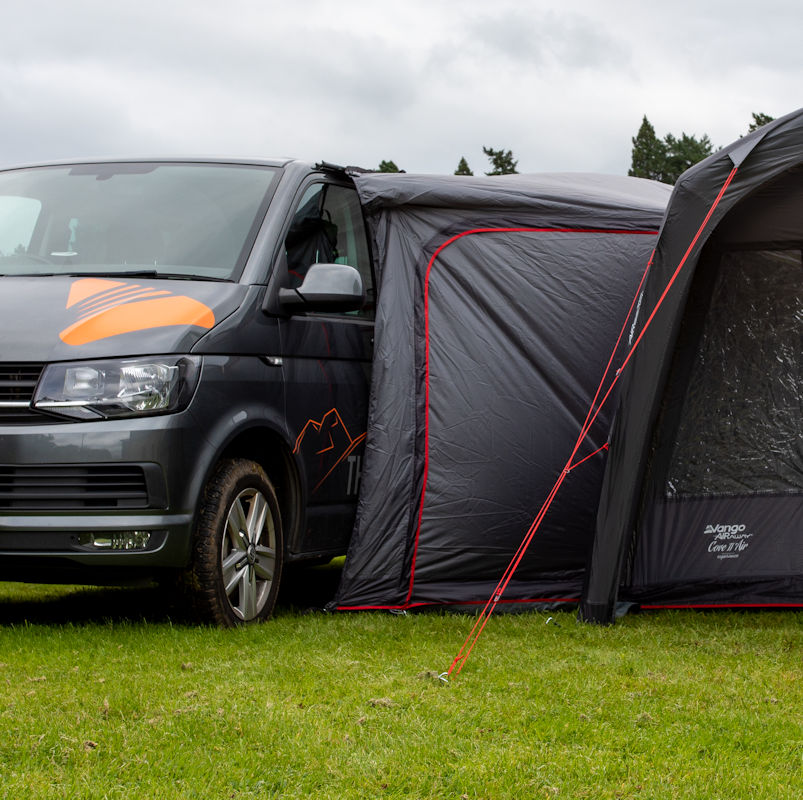
Drive-away awnings are essentially tents with a connecting panel for your van, designed to fit over the connecting door to your van's living space. The first step is to ensure you attach the awning to the correct side of the van.
Height of Attachment
Before delving into attachment methods, let's address an essential consideration: the correct awning height for your van. If you own a VW camper van or a similar model, you'll likely require a "LOW" fitting awning suitable for vans ranging from 180 to 210cm in height. To ensure your awning is the right fit, measure the distance from the ground to your attachment point.
The specific van model isn't a primary concern; what truly matters is achieving the correct height for attachment.
Popular Campervan Awning Categories
Attachment Methods
Now, let's dive into the nitty-gritty of attaching your drive-away awning to your camper van. There are several attachment methods available, each catering to different van configurations.
Four Main Types of Attachment
- Pre-attached 6mm Kador Thread
- Velcro Straps for Roof Bars
- 8m Storm Straps
- Gutter or C Rail - using pole and clamp kit.
To determine which method suits your van, explore the options below:
Attaching via a Wind-Out Awning Rail
One of the most secure methods of attachment involves utilising a wind-out awning rail. All of the camper awnings we sell come equipped with a pre-attached 6mm Kador strip designed to slide directly into the wind-out awning rail or a rail fitted to the side of your van. This method offers exceptional stability and a secure connection to your van's side.
How to attach to a Wind-Out Awning (Thule or Omnistor):
- Extend the van's side awning.
- Thread the Kador strip from the awning directly into the groove of the wind-out awning on the rear.
- Retract the awning for a secure connection.
For regular site departure, we recommend using a fixing kit, such as the "6m - 6mm Kit," which simplifies the detachment process by acting as an intermediary between your awning and the rail.
How to attach to a Wind-Out Awning (Fiamma):
- For Fiamma F45s or similar models with a 4mm groove, you'll need a "4mm - 6mm Fixing Kit."
- Attach the fixing kit to the awning.
- Extend the van's side awning.
- Thread the fixing kit's Kador strip from the awning into the groove of the wind-out awning on the rear.
- Wind in the awning for a secure connection.
Attaching via a Fitted Rail on the Side of the Van
Opting for a fitted rail on the side of your van offers a snug fit between the van and awning, creating an effective weather seal. If your van features a pre-attached rail, you can either slide your awning directly into the rail or use a fixing kit, such as the "6m - 6mm Kit," for easier awning removal.
Attachment Steps:
- Thread the pre-attached Kador strip onto the rail.
- If using a fixing kit, thread the pre-attached Kador strip into it and attach it to the rail.
- Secure the awning's base into the ground.
Attaching via Roof Bars
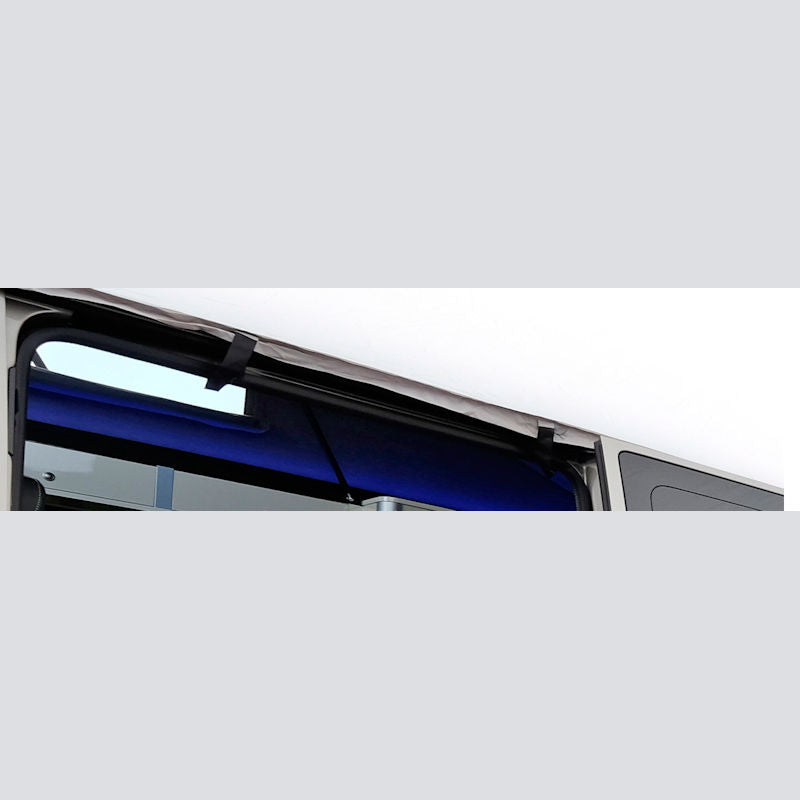
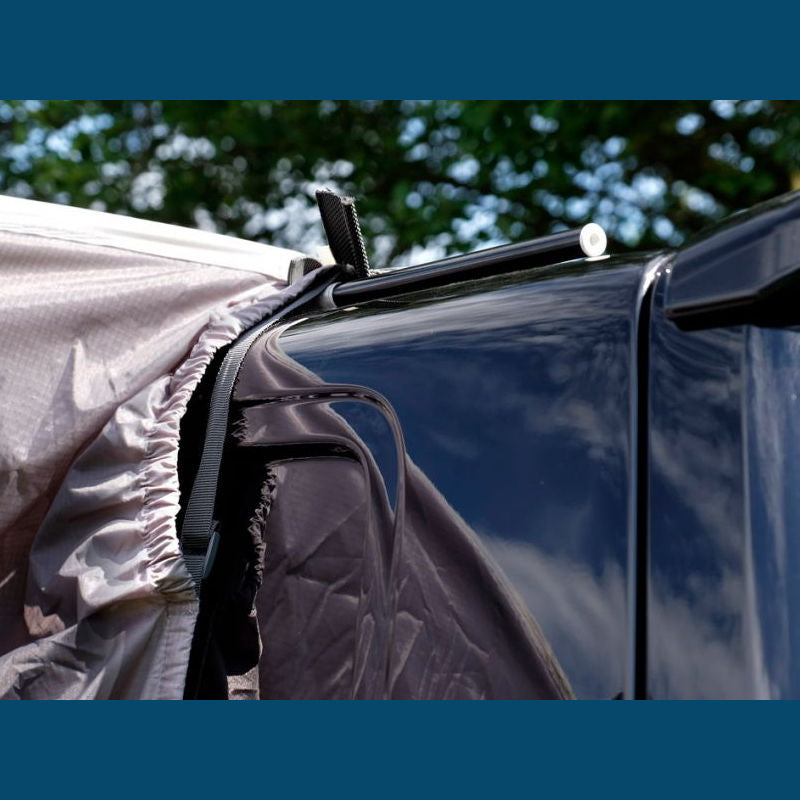
For vans equipped with roof bars, attaching your awning is a breeze. Every awning comes with Velcro straps that you can fasten to the roof bars for a secure fit. These straps ensure a quick and easy attachment and removal process.
Attachment Steps:
- Erect the awning.
- Position it close to the roof bars.
- Use the Velcro straps to secure the awning.
Attaching via a Gutter or C Rail
Some older camper vans feature deep gutters running along the side. Modern vans may have a large C rail that functions similarly to a gutter. If your van boasts either of these features, attaching your awning is straightforward. Each awning includes a sleeve for a pole to pass through, allowing you to use a pole and clamp kit for attachment.
Attachment Steps:
- Erect the awning and position it.
- Thread the pole through the sleeve on the connecting panel.
- Use the clamps to clamp it into place of the gutter or rail.
Attaching via 8m Storm Straps
If your camper van lacks standard attachment points or rails, don't fret. You can USE the 8m storm straps provided with your awning to anchor it securely on the opposite side of your van. These straps come with buckles for convenience and stability.
Attachment Steps:
- Erect the awning.
- Position it close to the van.
- Buckle the storm straps.
- Throw them over the van.
- Anchor them securely into the ground.
- Consider using stronger pegs in windy conditions to prevent them from coming loose.
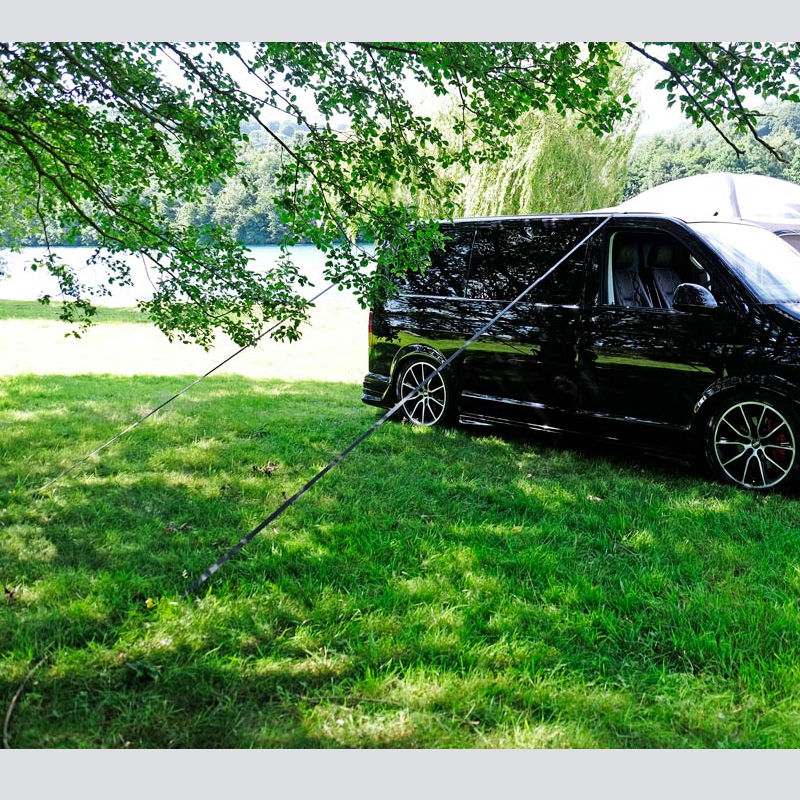
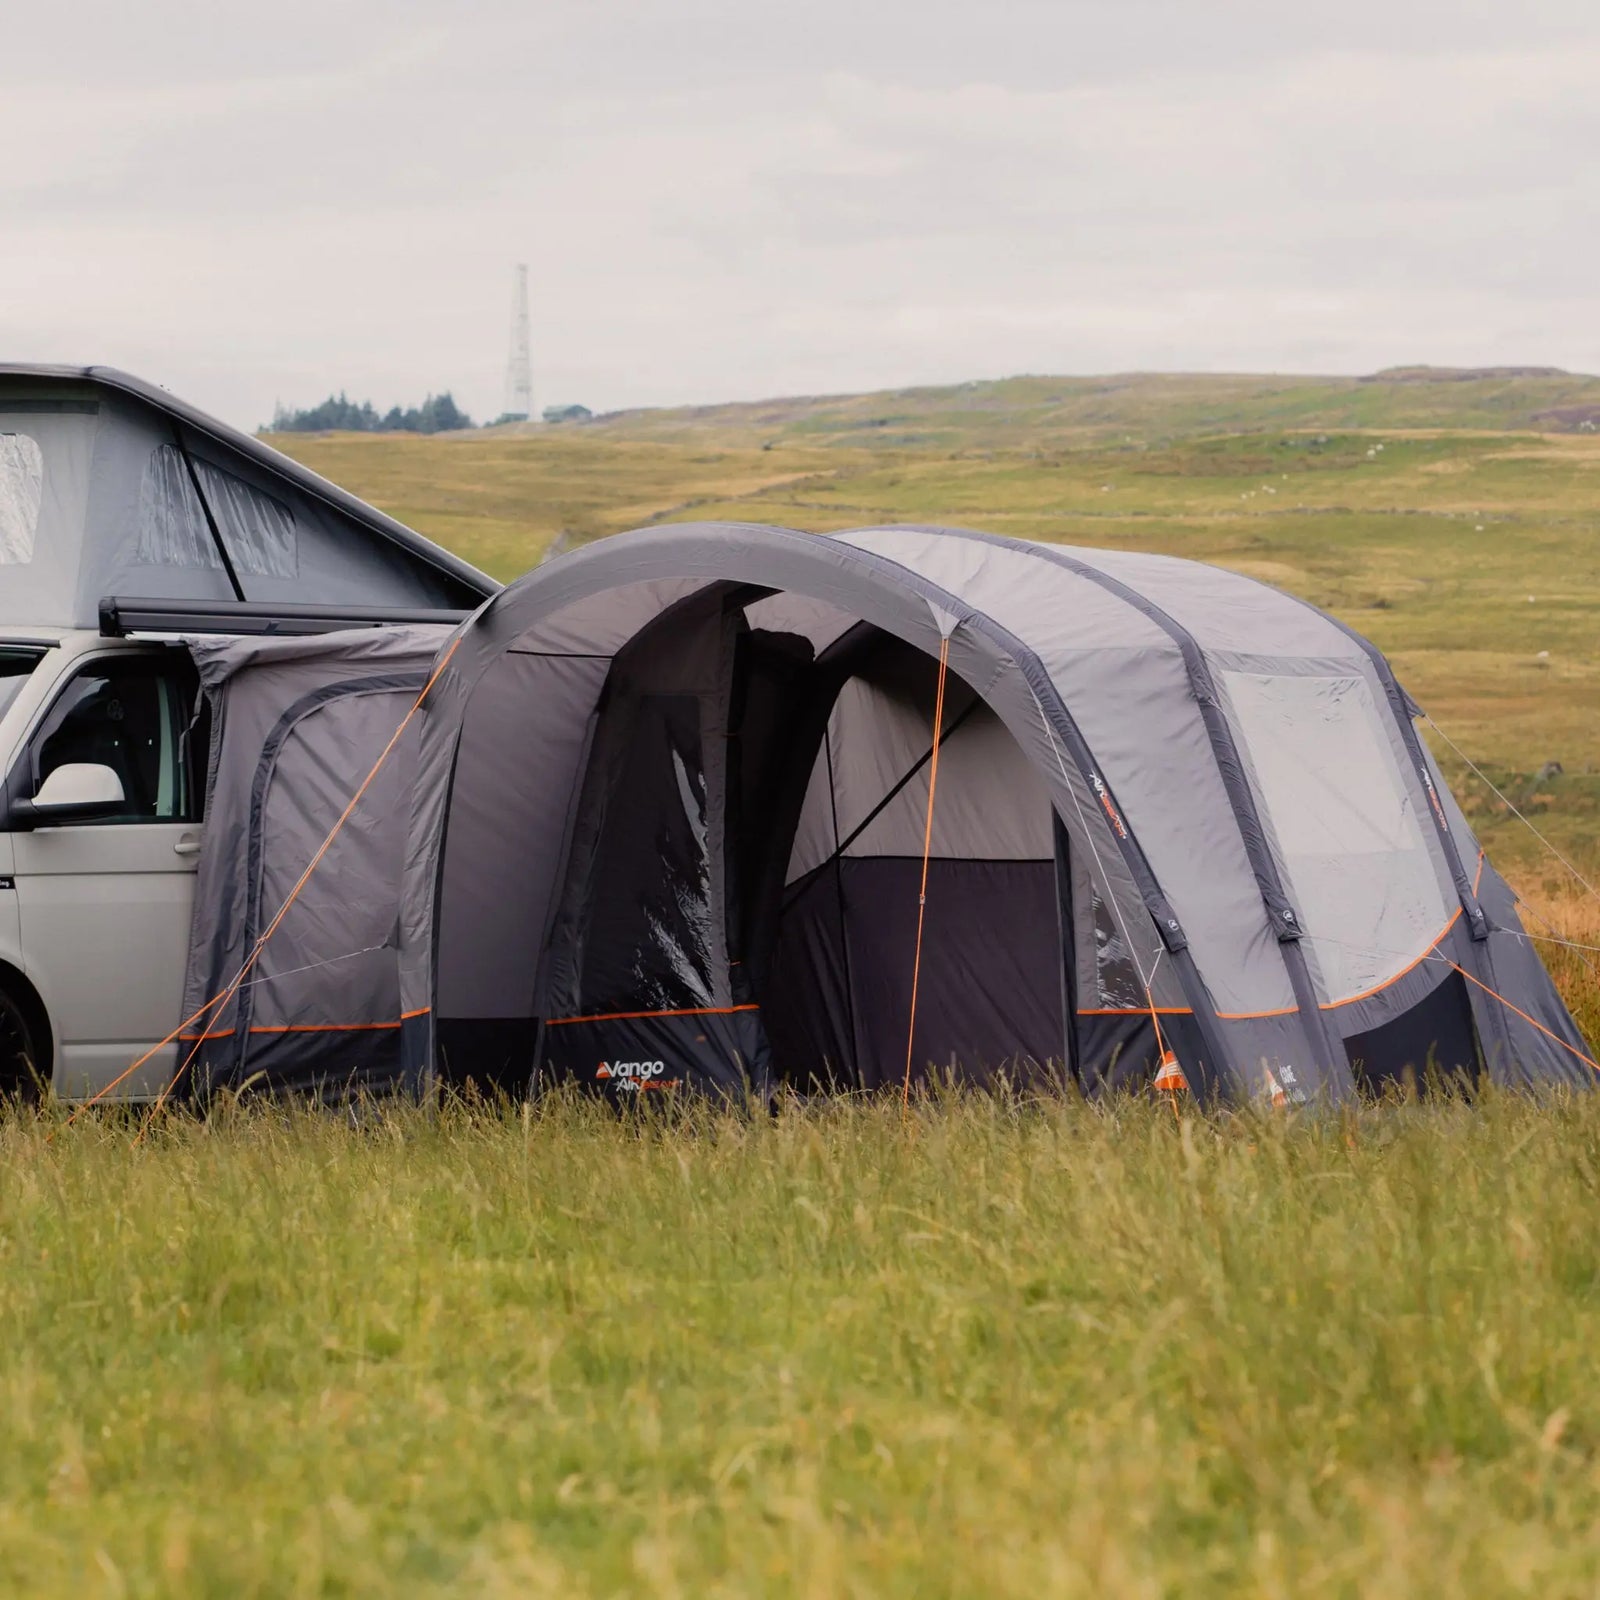
Pop-Top VW Camper Vans
Pop-top camper vans offer a unique challenge when it comes to attaching an awning.
You have two primary options: utilizing the fitted rail for the 6mm Kador thread or using storm straps that can be positioned around the sides of the pop-top for tensioning on the opposite side of the van.
Attachment Options:
- Use the storm straps and carefully position them around the sides of the pop-top.
- Opt for a rail on the side of the van for added security and a stronger attachment (preferred option).
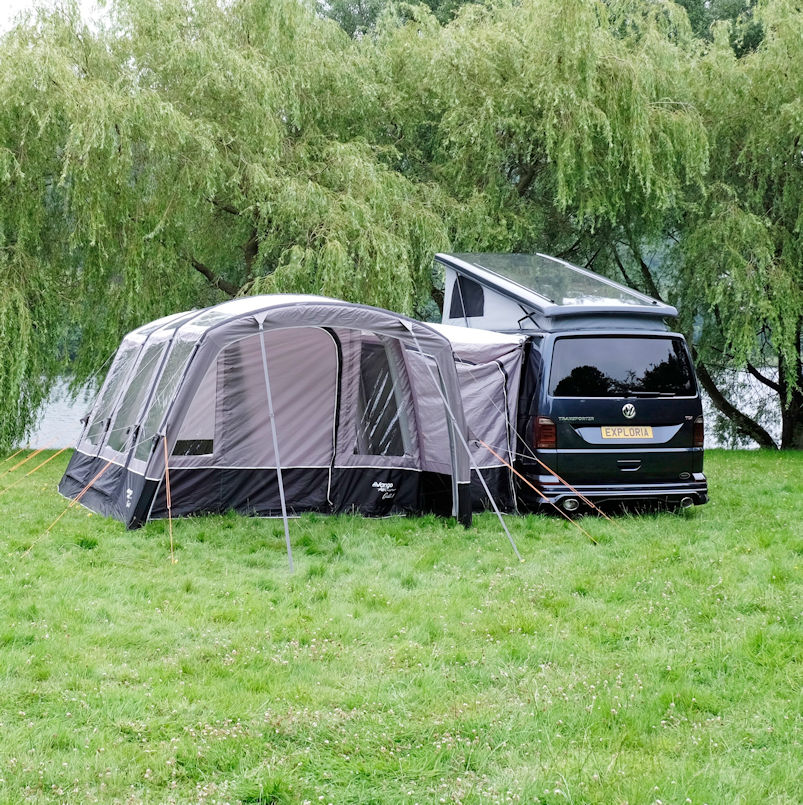
By following these attachment methods, you can confidently connect your drive-away awning to your camper van, regardless of its configuration. Always remember that while storm straps are versatile, they may not offer the same level of security as more robust attachment methods.
If you ever find yourself unsure or in need of additional advice, don't hesitate to contact us phone, e-mail or visit us in-store.


